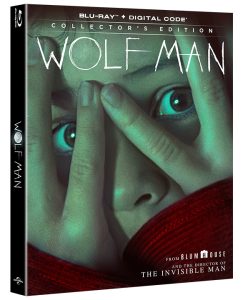
Now available on store shelves and online everywhere comes The Woman in the Yard (2025) from Universal Pictures Home Entertainment. The Woman in the Yard Blu-ray™ + Digital Code Collector’s Edition as well as the 4K Ultra HD + Blu-ray™ + Digital Code Collector’s Edition is set for May 27, 2025. List pricing has been set at $24.99 for the Blu-ray™ Collector’s Edition and $29.99 for the 4K Ultra HD Collector’s Edition. Now for The Woman in the Yard Blu-ray review.
The Woman in the Yard Blu-Ray Review
First things first–this is one complex film. And I write this knowing that this film is a short one coming in under 1.5 hours set almost exclusively in one location with only five characters all taking place in less than 24 hours.
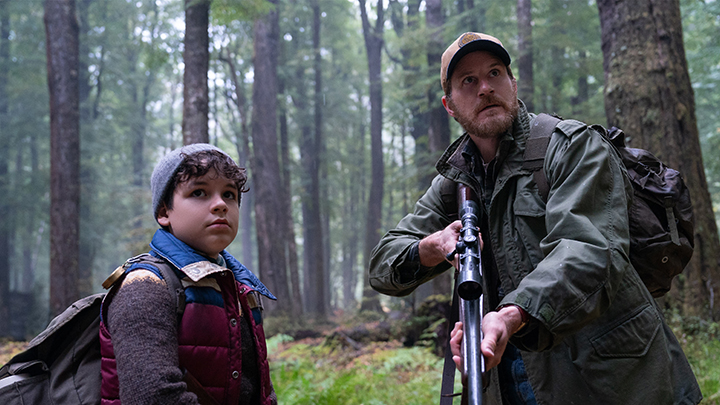
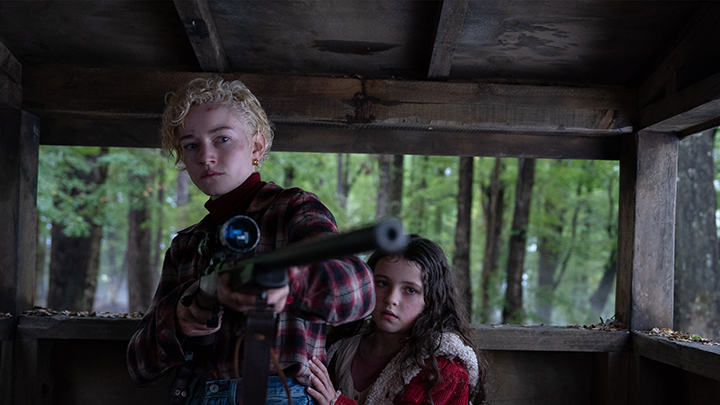
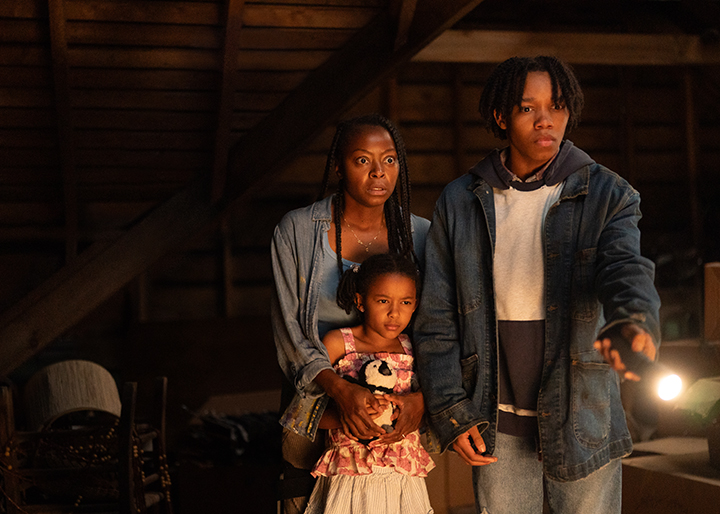
The film starts off with scenes of a desolate farmhouse with Ramona, a wife and mother grieving over the loss of her husband David. She’s in quite a bit of pain, emotionally and physically. We see their two kids Annie and Taylor who are making due with the family tragedy, as well as there being no electricity and little food to eat for breakfast. Even their dog doesn’t have enough food to eat.
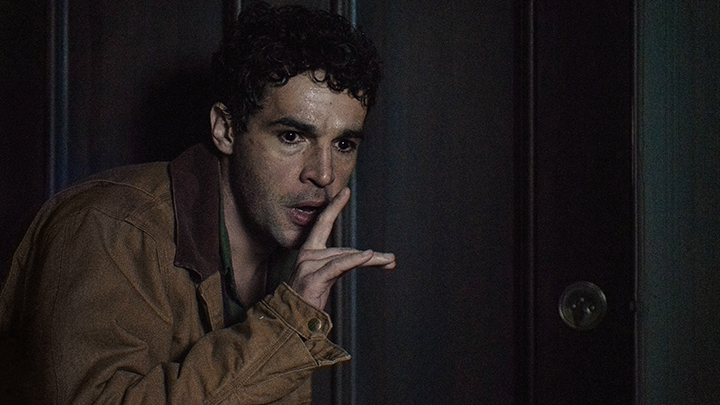
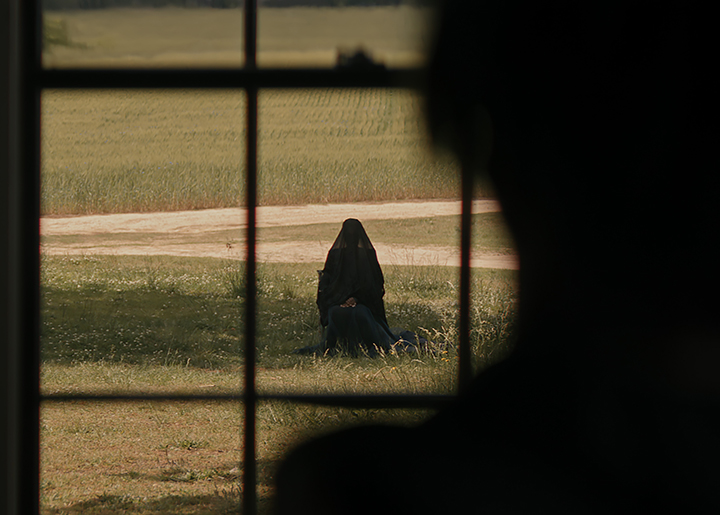
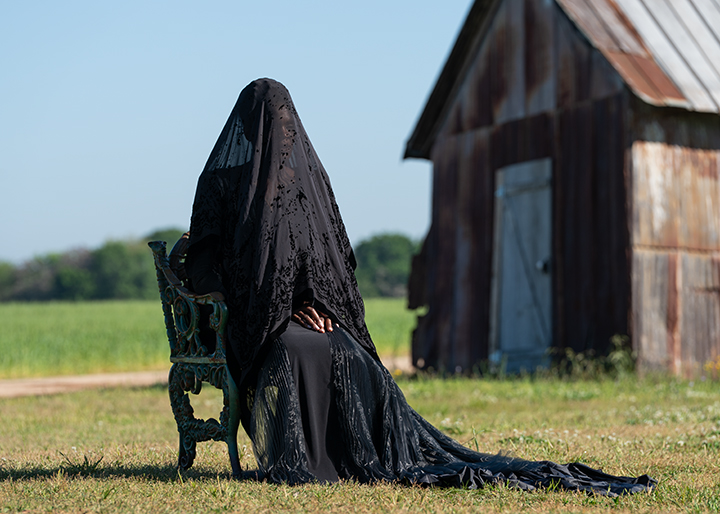
Almost 15 minutes into building up the familiar characters, a woman appears in their yard, out of nowhere, hence the film’s title, dressed in all black draped over with a full-length veil covering. It’s somewhat creepy. Ramona ventures outside to chat with the woman. During this conversation Ramona realizes who this woman without a name is and comes back inside. Ramona also realizes that she summoned her. “Today’s the day.” What we the audience and Ramona learn and realize is that she in her period of darkness, through her grief, guilt, and sadness has summoned an evil spirit. This is where the film is open to the viewer’s interpretation, and I like this. And this dark spirit is seen by all family members including the dog. Try to imagine something from the darkest corners of your mind coming to life.
Quick, someone call the Winchester Brothers to take care of this demonic spirit. But they can’t call anyone as there’s no electricity in the house. Furthermore, their mobile phones are either broken or out of power.
Once back inside, it’s at this moment Ramona lies to her children about who this woman truly is. Subsequently we learn this isn’t the first big lie told by Ramona to her kids.
As the woman gets closer and closer to the house, we learn the truth about their father David’s tragic passing. We also see the depths of Ramona’s unhappiness in their marriage and her life in general. It’s a bit tough to witness this. The psychological nature of this film thoroughly grows here.
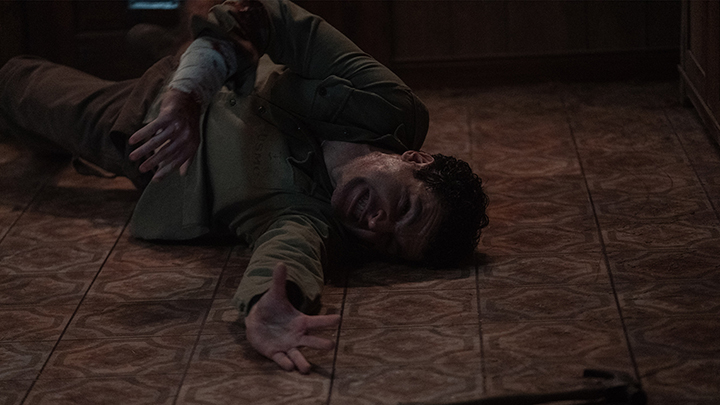
Soon after, the woman enters the house reaching out in the shadows to torment this family. I enjoyed these scenes the most as we witness a proper haunting and what becomes out it.
I’ll end my review at this point so as not to ruin the film or provide you with any spoilers. This story by Sam Stefanak could have gone in many directions as those of us who watch horror films know all to well. Now go microwave some popcorn and enjoy the film.
TRAILER

PRESS RELEASE
Per the UPHE Press Release: “Today’s the day. With audiences still on edge from its theatrical run, Blumhouse’s latest horror sensation THE WOMAN IN THE YARD will be available exclusively on digital platforms to own or rent tomorrow, April 15, 2025, from Universal Pictures Home Entertainment. The film will be available on Blu-ray™ and DVD on May 27, 2025. Own the supernatural tale of fear and the unknown with never-before-seen extras including a behind-the-scenes look at the making of the film, only when you purchase from participating retailers nationwide including Apple TV, Fandango at Home (formerly Vudu), Comcast Xfinity, Cox, Microsoft Movies & TV, and Movies Anywhere.”
“When the sun is bright and the wind is still, she comes to you like a sudden chill. Draped in black from head to toe, how she got there, you’ll never know.” With that cryptic warning, an otherworldly woman sends a family into a seemingly inescapable nightmare. Already grieving the death of her husband, Ramona faces a new fear when this mysterious figure appears outside her farmhouse. With the woman continually creeping closer, Ramona must protect her children from the chilling grasp of this haunting entity whose unknown intentions are anything but peaceful. From Blumhouse, producers of The Invisible Man and The Black Phone.”
“From director Jaume Collet-Serra (The Shallows, Carry On) and writer Sam Stefanak (“F Is for Family”, “The Expanding Universe of Ashley Garcia”), THE WOMAN IN THE YARD stars Danielle Deadwyler (Till, I Saw the TV Glow), Okwui Okpokwasili (I Am Legend, Exorcist: The Believer), Peyton Jackson (“Best Foot Forward”, Nobody’s Fool), Estella Kahiha (Fantasy Football, The Storied Life of A.J. Fikry), and Russell Hornsby (The Hate U Give, “Lincoln Heights”).”
BONUS FEATURES
- MAKING THE WOMAN IN THE YARD – Travel through the darkest corners of the film during this behind-the-scenes journey where filmmakers work with cast to craft a story that is both haunting and human.
- BENEATH THE VEIL – Cast and filmmakers lift the veil on the film’s frightening figure for this revealing look at the themes, designs, and styles that shape her eerie specter into a powerful presence.
FILMMAKERS
- Cast: Danielle Deadwyler, Okwui Okpokwasili, Peyton Jackson, Russell Hornsby
- Music By: Lorne Balfe
- Costume Designer: Kurt and Bart
- Edited By: Tim Alverson ACE
- Production Designer: Marc Fisichella
- Director Of Photography: Pawel Pogorzelski
- Executive Producers: Danielle Deadwyler, Jaume Collet-Serra, Gabrielle Ebron
- Produced By: Jason Blum p.g.a., Stephanie Allain p.g.a.
- Written By: Sam Stefanak
- Directed By: Jaume Collet-Serra

TECHNICAL INFORMATION BLU-RAY™
- Street Date: May 27, 2025
- UPC Number: 191329275849 / CDN 191329275948
- Layers: BD 50
- Aspect Ratio: 16:9 2.39:1 Widescreen
- Rating: PG-13 for terror, some violent content/bloody images, suicide-related content, and brief strong language
- Languages/Subtitles: English, French Canadian, and Latin American Spanish
- Sound: English English (Dolby TrueHD 7.1 for Feature, Dolby Digital 2.0 for Bonus Content), French Canadian (Dolby Digital Plus 7.1), Latin American Spanish (Dolby Digital 5.1)
Run Time: 01:27:50
All photos are the courtesy and property of Universal Pictures Home Entertainment.